In this tutorial I'm going to show how to make your text animated in a nice way using "Flash cs5, cs4 or mx2004".


Click on the text tool or simply press "t".

We need to separate all the letters to give each letter a unique effect. Press (ctrl+b)


In the next step, we have to put each letter in a separate layer.


very cute isn't it! each letter now in a different layer. we wont need the first layer so we can simply delete it.
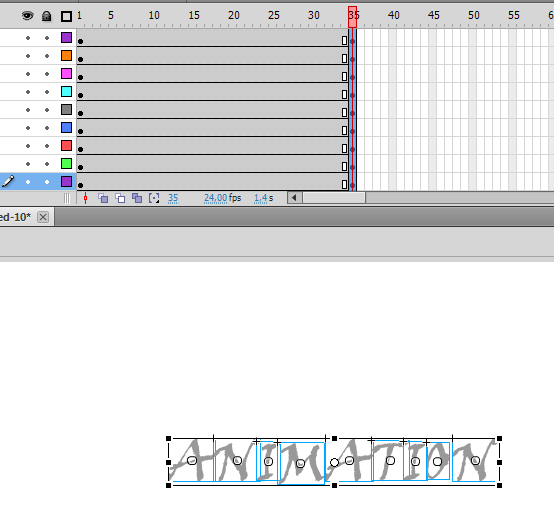
Now we are going to make our text animation. Let's go select all the layers in the 40th frame.


press F6 to make the selected frames as keyFrames.

Now select all of the text, by holding (alt + shift) and make it bigger. the alt+shift combination keep the text in his original position while enlarging it.

Minimize the size of your frame so you can make your text even more bigger.
In this step, we are going to add some effect to the letters to make them more dynamic.
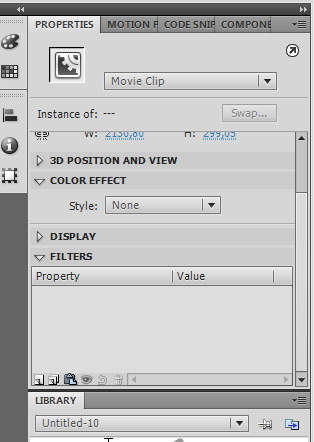
Select all of the text and go to the properties panel, scroll down and choose "FILTERS"


let's Give it some Blur! Set the the Blur X and the Blur Y to 80 or 100.leave the quality as low we don't need something very fancy.


So let's test our animation. Press ctrl+enter.
As you have notice the animation doesn't stop at the end, So we going to add some action-script code.


type the "stop ( );" command.
If you want to explore more action-Script commands, choose "code snippets" from the window menu.
test your movie (ctrl+enter).
Now I'm going to add other modifications to our text animation.
Delete the stop command from your last frame. (click F9 and delete "stop();)

Click in layer label then drag it a little bit the time line to the right. Do the same with the other layers and try to space between them.

While holding your shift key select a column of frames in the end of all the timelines and create a keyFrame where we will code our new stop command.

There we are a new column of keyFrames is created and the code is there just like before.
All what we need to do now is to test our movie (ctrl + enter).
You can add a lot of different effect like rotation or position effects, all what you have to do is to modify your letters as you want in the first frame and flash will take it to its original form.
You can also check out the motion preset panel (window-> motion preset).
I uploaded all the work in megaupload
I saved all the work here
http://www.megaupload.com/?d=DY4S862D
this is an example of the animation, if it doesn't workn right click and choose (play or lire).
See you in my next tutorial.
Mazen :)
Aucun commentaire:
Enregistrer un commentaire